
Microblading is a process that can change a person’s life by helping them build confidence, adding convenience to their life, and even allowing them to sleep in longer because it doesn’t take them as long to get ready once they wake up. Some have said that it saves as much as 20 minutes off the time it would otherwise take them to apply their makeup in the morning.
One of the issues that some people are having is the fact that social media often shows perfect people rather than allowing us to experience the difficulties of the ups and downs that go along with healing after having permanent makeup applied. Even when you show what the results look like immediately after the work has been done it doesn’t really help a person understand the entire process and that leaves most with a bunch of questions. That is because the procedure only represents about 10% of the entire experience of microblading and it’s what happens over the next 30 to 60 days that is really in question.
Whether you are someone considering having the procedure or an artist who wants to show clients what to expect, you want to take a look at what the process entails. This includes the good, the bad, and the difficult. For instructions on this, you can also take a look at Tina’s recommendations by going to the blog post that’s titled Prepare And Aftercare.
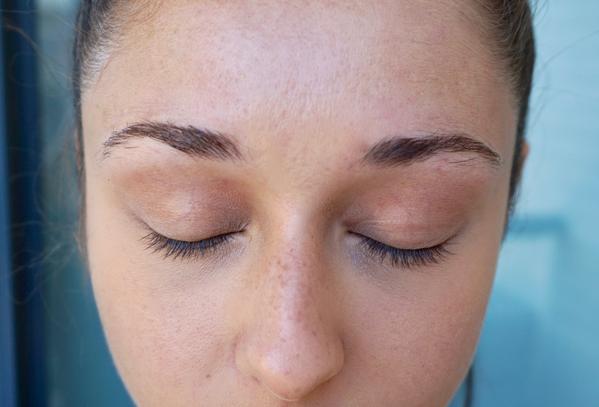
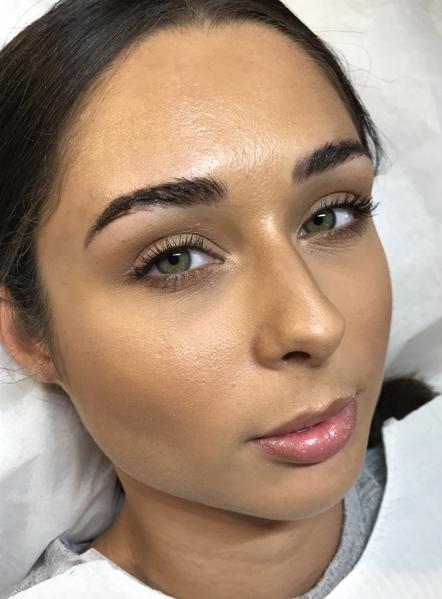
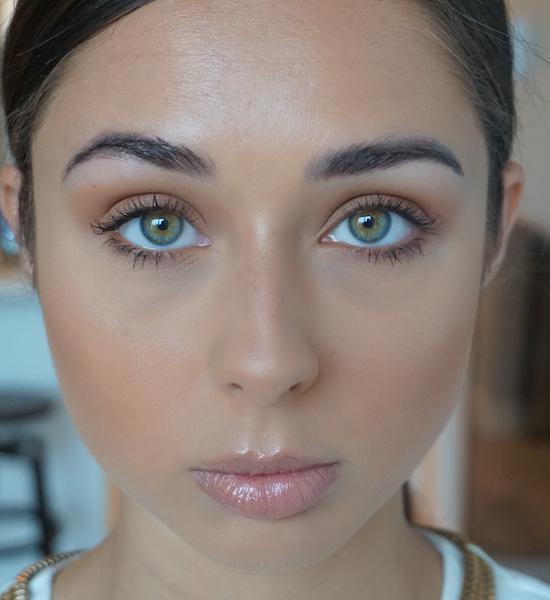
Here is my natural eyebrows – pre-microblading:
Day 1
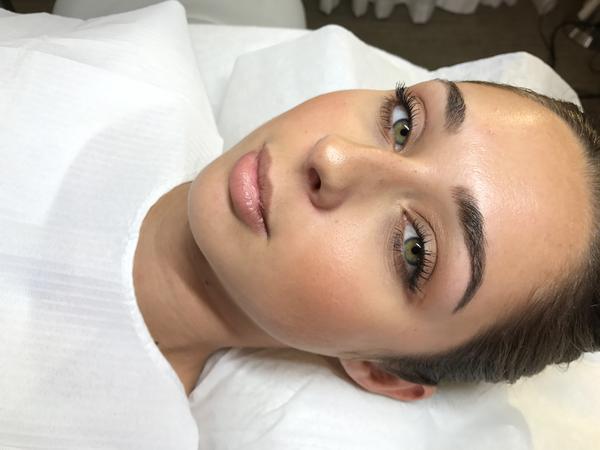
Most people are excited as they go in to get the procedure done. If you’re having an artist work with patchy brows or even if you have no brows and you have the procedure performed, then you’ll see that you now have real hair strokes that you can show off to everyone. Even though they’re a little bit red they still look textured and there is a noticeable difference that makes you feel great about the change.
There’s a good chance the brows will be bold in color. If you don’t typically fill them in much, then you’ll notice a dramatic difference in the appearance. They may be somewhat swollen and tender and there may even be some light bleeding. Generally, most will be in awe of their new set of brows.
If you commonly fill in your brows and like the bolder look, you will likely be in love with these after having the procedure done. If that’s not the case, you still don’t need to panic. As part of the procedure, the brows are given an added 20 to 40% of permanent makeup because there’ll be some fading. If it’s a bit darker than you would prefer, then you can relax knowing that this will fade in about a week.
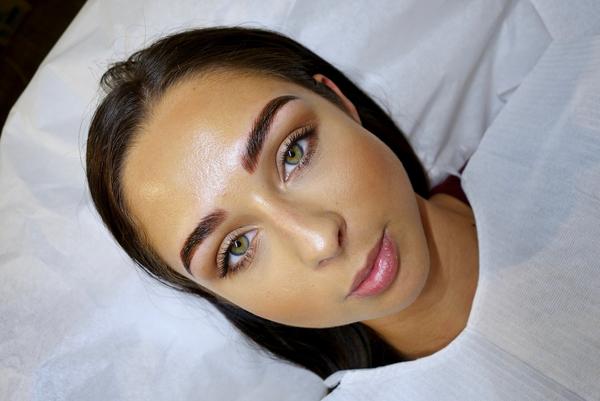
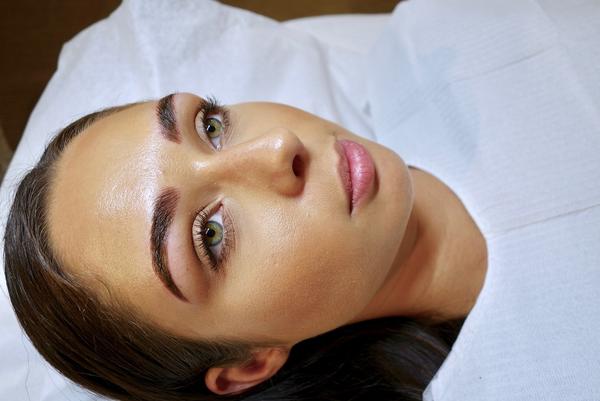
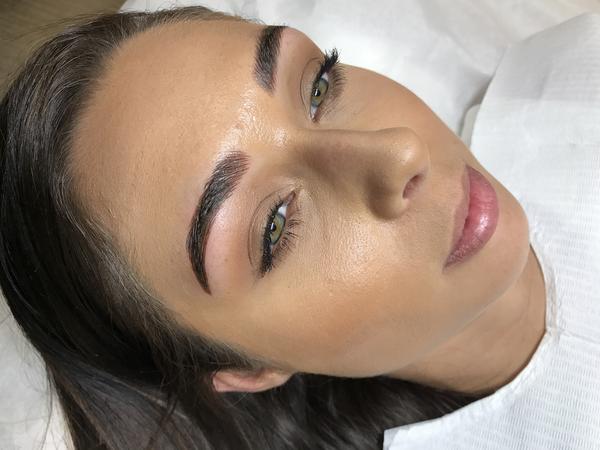
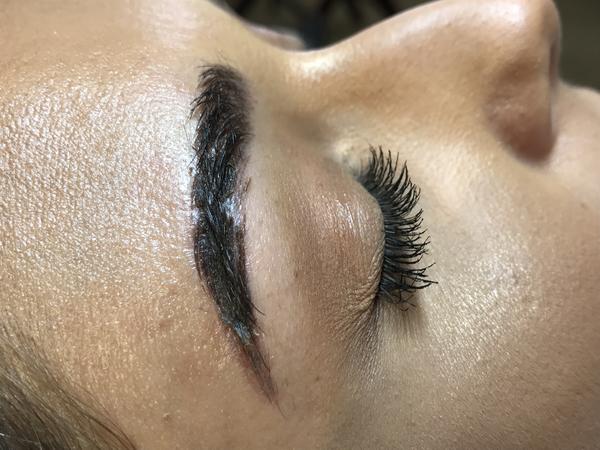
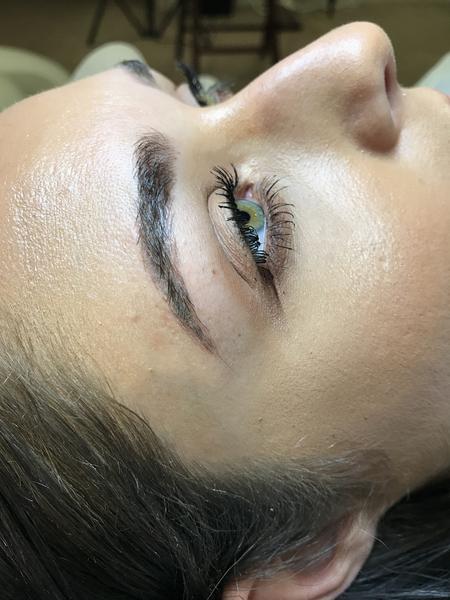
My Immediate Results:
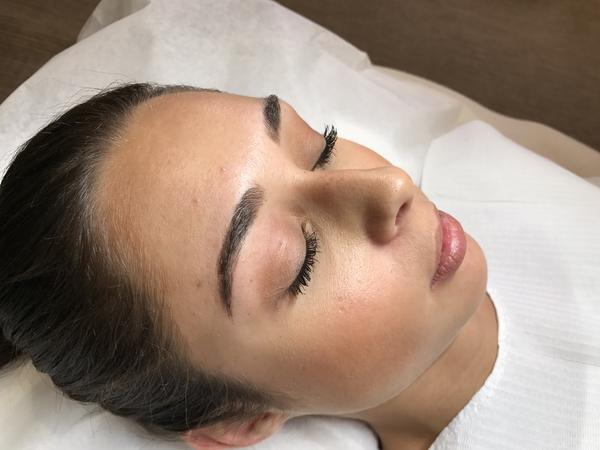
The Next Day
There’s a good possibility you will experience sneezing especially if your procedure was done during allergy season because of the small papercut like wounds you have after the procedure. Your brows will be tender and reddish and may even look thicker than the day of the procedure. You may be self-conscious and think that people are looking at your brows and thinking that they are darker than normal.
Still, it’s likely you will love the way that they look. When mine was done I could see every stroke and every hint of redness but the redness subsided. The day after the procedure will likely be pretty easy because the scabs won’t have started yet.
The Third And Fourth Day
The third day will not have any big differences between the first two days. Some of the tenderness and pain will start to reduce and you may notice that your brows are a bit thicker or darker but that’s about all. There’s a good chance that you’ll really be enjoying the convenience of having instant brows when you get up in the morning and not have the hassle of having to create them. If you start dreaming about going to the beach it’s recommended that you give it at least 10 days before doing so.
Day 5
You’re likely to start noticing things starting to change. Your brows will start healing and that means they’ll get itchy but you really shouldn’t scratch them. There’s a good chance that scabbing will start to form and that might hide some of the hair strokes. Some people start to panic at this point.
I recommend that you resist your urge to repeatedly call your artist with questions and complaints. It is natural for your body to try and repair the wound and that’s why you’re experiencing scabbing. It’s all perfectly natural and normal and it will heal. Even if you feel that it looks unattractive you really don’t need to worry because it’s going to heal and look fine.
Days 6 And 7
This is the time frame where scabbing will be in full force and they will likely start to peel. When this starts to happen you may be tempted to peel or pick at the scabs but you shouldn’t do it. Doing so could negatively impact the healing process. If you simply rinse the area on a regular basis the scabs will start to fall off on their own. Because it’s so tempting to pick and peel the scabs it’s one of the most difficult times of the process.
Even though I spend time on social media I haven’t seen anyone who has had the courage to talk about this part of the healing process for microblading. Everyone wants to show off the perfect strokes but not the scabbing. For this reason, most people have no idea that their eyebrows are going to shed in that way as they go through this process. This is why I feel like it’s important that everyone knows about it and understands that it’s completely normal and if they’re patient, then the eyebrows will heal.
Days 8, 9, And 10
By this point, most if not all of the scabs have come off on their own and this will help you feel that you’re starting to heal. Even so, you may notice that the skin hasn’t fully healed and you might be a bit concerned about it. Some people will notice that their color is a bit more light than they think it should be or even gray and you may notice spots.
This may make you feel as though your skin didn’t take the pigment but that would be an incorrect assessment. Often it may appear as though you filled them in with powder. This is normal so just trust in the process and love that your eyebrows are done permanently every morning. Since the wounds are likely fully closed at this point, if you do feel somewhat conscientious of the fact that they appear light in color then you can darken them with a little makeup.
Almost Finished Healing
From the end of the second week through the following week, you will be almost healed. At this point, you’ll begin to see the definition and the color of the strokes return. The color will even out and look very natural and brow like. Most people who look won’t even believe it’s a tattoo. You’re likely to think that it’s genuinely amazing. You’ll be enjoying the fact that your makeup routine is significantly shorter and you may be considering taking advantage of your waterproof brows by going to the beach.

A Month In
It’s now a month since you had the procedure and your healing is finished. Your color is looking great and your skin is fully healed. Everything will look natural and soft. You will now be able to understand if there’s anything you might want to change or if there are any spots that need to be touched up. These factors are depending on how well your skin took to the pigment and you likely already have a follow-up appointment scheduled soon.
Tina typically recommends that a client doesn’t come in for their follow-up until the skin is completely healed. Three months is often the optimal time to come back. If you’re like me you’ll feel that the experience of microblading was amazing. Even though you may have had some ups and downs during the healing process, hopefully, you were reassured that everything was normal and happening as expected. My hope is that this guide has helped you understand what to expect during the healing process and I hope it helps artists understand how to better prepare their clients on what they can expect. For more go to: https://tinadavies.com/blogs/news/the-real-experience-microblading-healing-day-by-day
Leave A Comment